
Straight answers on what needs to change
If your existing venting, gas line sizing, shutoffs, or drain pan setup does not match the new equipment, we explain the options and why they matter before work starts.
Serving San Jose, California & surrounding areas
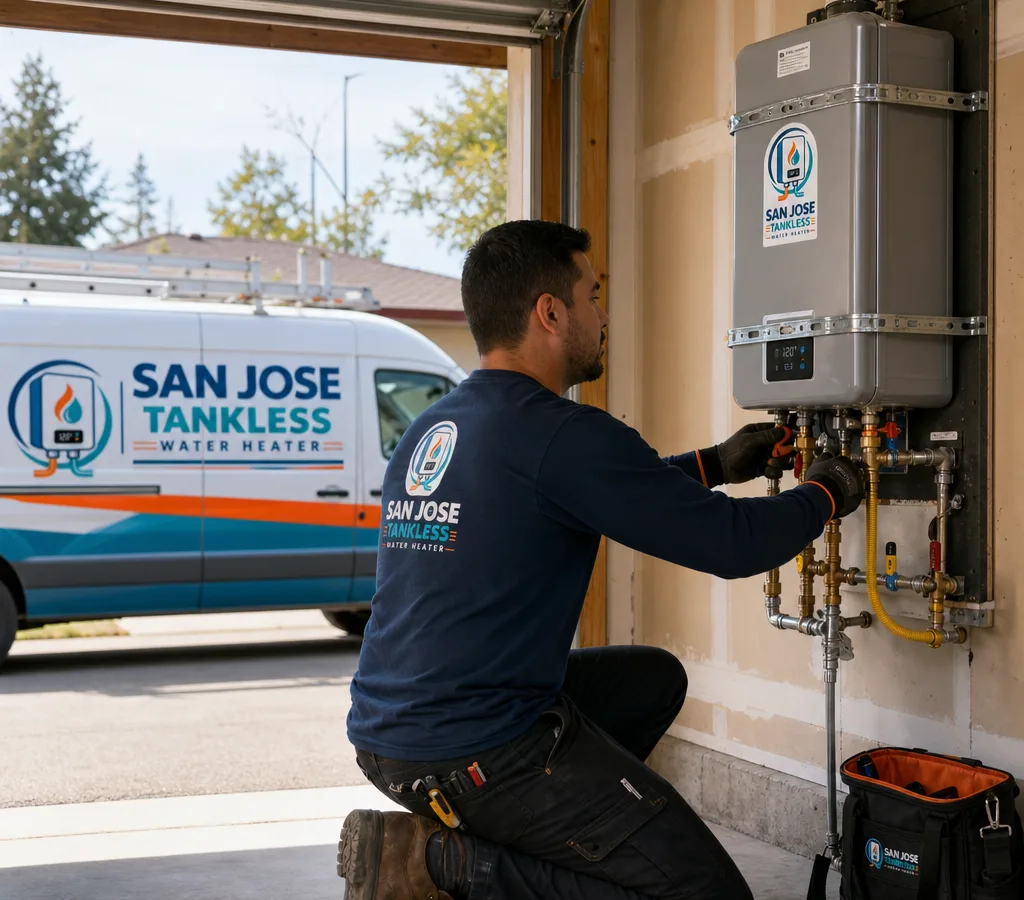
Water heater installation in San Jose
Get dependable hot water with a clean, code-aware install and a clear plan for venting, gas, water lines, and permits when needed.
Scope and homeowner fit
If you are searching for water heater installation san jose ca, you are usually dealing with one of two problems: unreliable hot water or a unit that is leaking, corroded, or simply at the end of its service life. San Jose Tankless Water Heater handles residential water heater installation in San Jose with a straightforward approach: confirm the right size and fuel type, verify venting and clearances, install with the correct valves and safety components, and test the system before we leave.
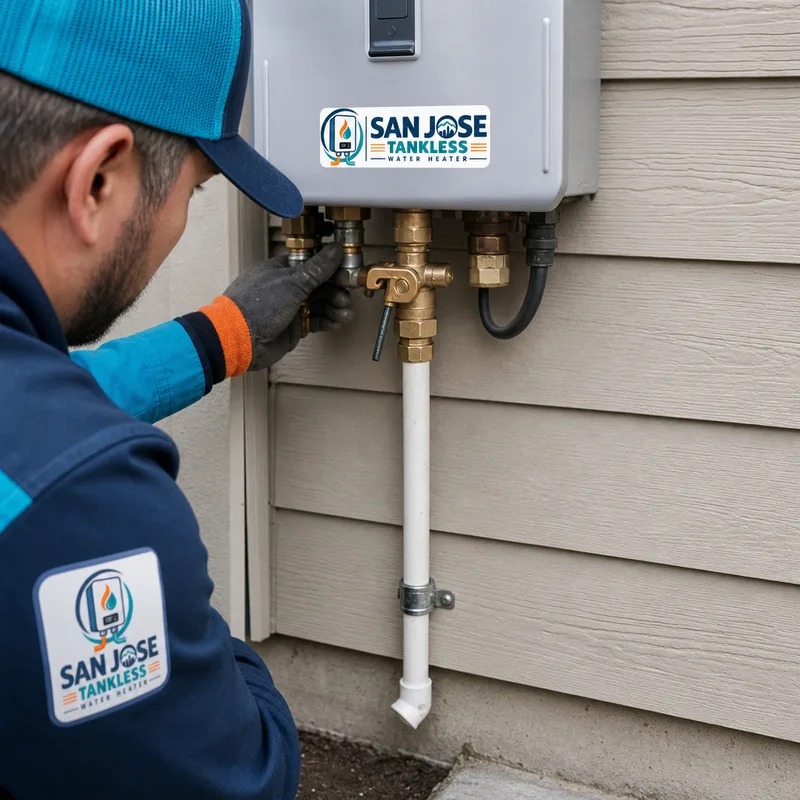
A proper install is more than swapping a tank. In many San Jose homes, the details that matter are access—tight garage corners or closet installs—gas line capacity for higher-BTU equipment, vent route, seismic strapping, and where the temperature and pressure relief discharge line terminates. We build the scope around what your home actually has, then install to match.
What the work includes
A solid water heater installation starts with a quick assessment of the existing setup, then a plan to bring the new unit online safely and cleanly.
Typical installation scope includes:
We can also talk through whether a tankless upgrade is a good match for your household. The best fit depends on usage, venting, and available utilities.
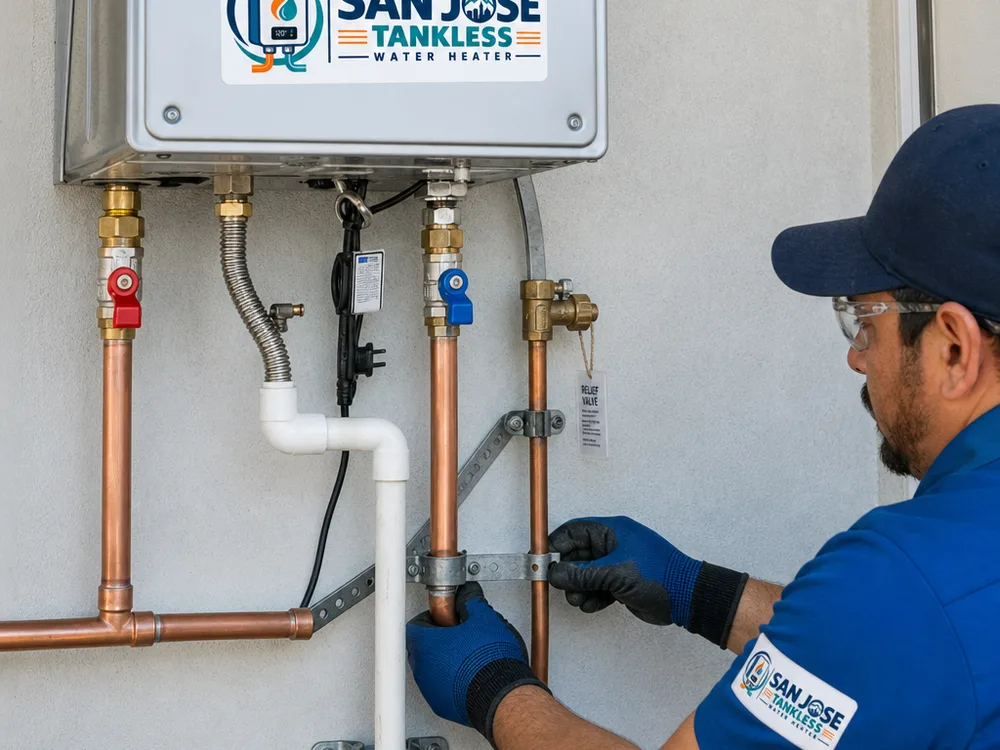
Service details and options
If your existing venting, gas line sizing, shutoffs, or drain pan setup does not match the new equipment, we explain the options and why they matter before work starts.
We protect the work area, keep piping runs tidy, and leave the space usable. That matters in San Jose garages that double as storage or laundry rooms.
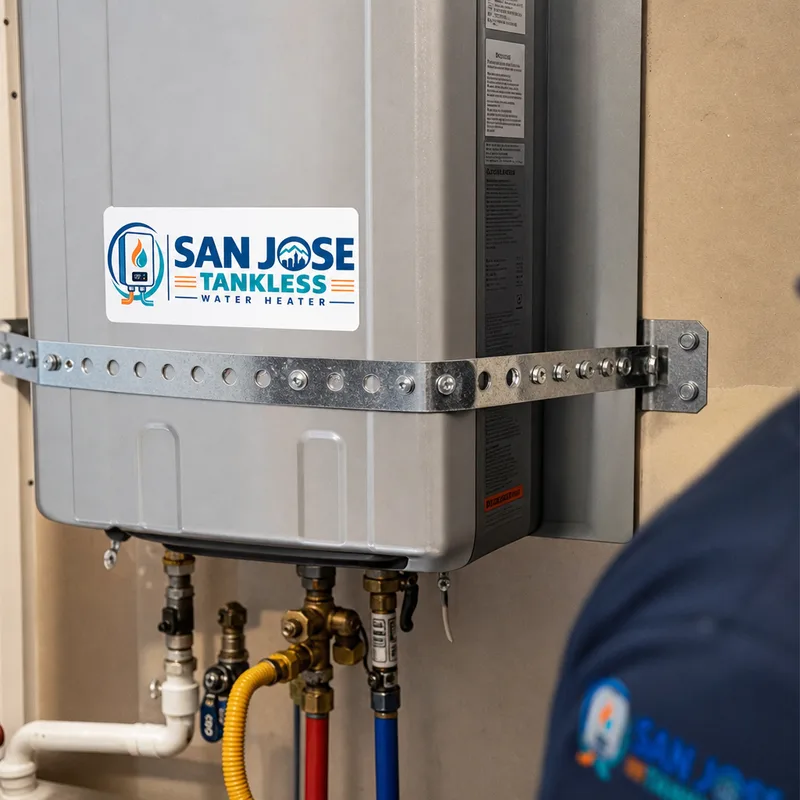
Seismic strapping, TPR discharge routing, clearances, and correct vent materials are not optional details. They help prevent safety issues and future rework.
We look at how many bathrooms you run at once, recovery needs, and incoming water temperature expectations so you are not stuck with a unit that feels undersized.
In areas with older housing stock, existing connections and vent runs can be nonstandard. We plan for what we find, not a perfect diagram.
Assessment and installation process
We confirm what you have now—tank or tankless, gas or electric—measure the space, and review demand so the replacement is sized correctly.
We shut down the utilities, drain and disconnect the old unit, and remove it with attention to flooring, doorways, and tight garage access.
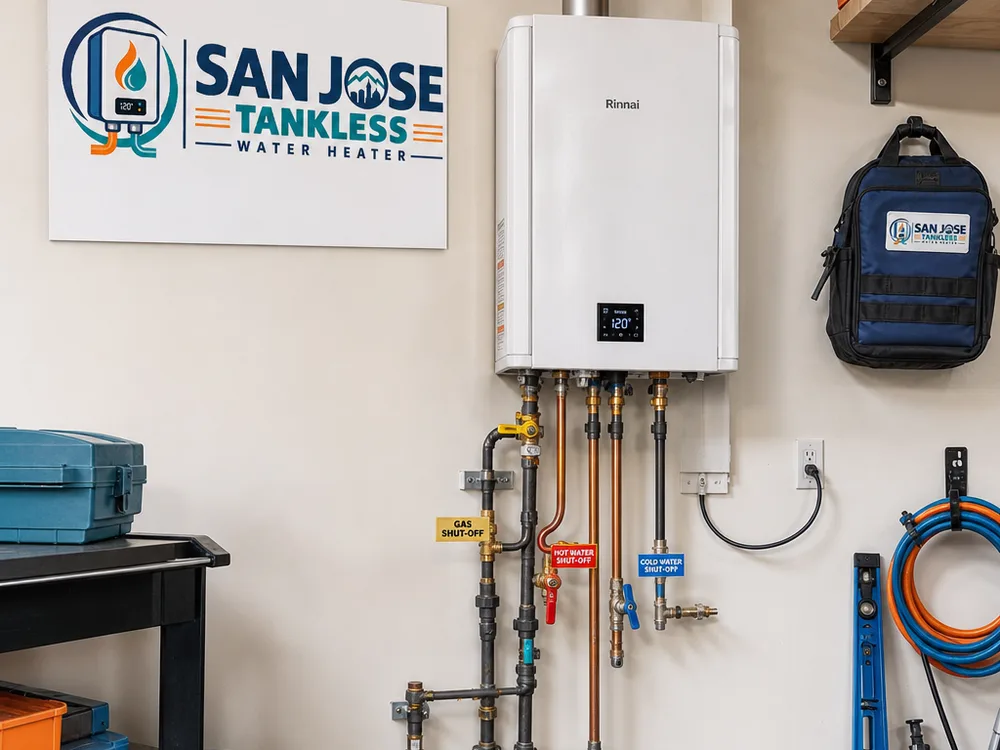
We set the new unit, connect water and fuel or electrical service, address gas venting, and add or update shutoffs, connectors, a drain pan, and seismic straps as needed.
We pressurize and check for leaks, verify operation, set temperature, and walk you through shutoffs and basic care so you know what to watch for.
Planning your installation budget
Water heater installation in San Jose typically ranges from about $1,800 to $4,500 for a standard tank replacement and roughly $3,500 to $8,500+ for tankless installs, depending on fuel type, venting, and how much needs to be brought up to current requirements.
Your final price changes with unit capacity and efficiency, vent route and materials, gas line sizing, electrical work, access, and whether items like a drain pan, shutoff valves, or TPR discharge piping need replacement. The exact cost is confirmed after an on-site assessment of your existing setup.
Workmanship details
Local installation planning
Water heater installation San Jose projects often come down to practical constraints in real homes.
Garage installs are common across the city, and many homeowners want the new unit to sit cleanly with protected piping and a tidy footprint so storage and laundry areas still function. In neighborhoods with a mix of older and remodeled homes, existing venting and connector layouts can be a mismatch for modern equipment, especially when switching efficiency levels or moving between tank and tankless.
If you are in a condo or townhouse community, access and shutoff coordination can matter as much as the heater itself. Closet installs can require careful attention to clearances and vent routing, and scheduling can hinge on when water can be shut down.
For a tankless upgrade, the installation plan focuses on venting, condensate for condensing units, gas line capacity, and placement so the system performs as intended.
Practical answers before installation
Most like-for-like replacements can be completed the same day, while installs that require vent changes, gas line resizing, or relocation can take longer. The biggest schedule drivers are access, vent routing for gas units, and whether utility upgrades are needed.
Many water heater replacements in California require a permit, especially when fuel-burning appliances, venting, or safety components are involved. Requirements can vary by scope, so we review your situation and help you understand what is needed before installation moves forward.
Sometimes, but it depends on venting, gas line capacity, and available wall space for mounting and service clearances. Tankless units often need a different vent route and may require gas line adjustments, so we confirm feasibility based on your utilities and layout.
Common cost drivers include venting changes, undersized gas lines for tankless upgrades, outdated or missing safety items, and difficult closet access. An on-site assessment usually identifies these items early so you can make decisions before work begins.
You should generally match the fuel type to what your home is set up for unless you are planning a larger utility change. Switching fuel types can require electrical work, gas piping changes, and venting considerations, so we review the practical tradeoffs for your household.
Shut off the cold water supply to the heater and, if safe to do so, shut off power for an electric unit or the gas control for a gas unit. Then arrange a prompt replacement assessment, since active leaks often mean the tank has failed and replacement is the safest path.
Ready for a clear next step?
Tell us what you have now and what is going wrong, and we will confirm the right replacement, the expected timeline, and any venting or utility changes before installation day.